Pages

Showing posts with label finishing. Show all posts

Wednesday, July 27, 2016

We are back - part II

I am wondering if someone is still visiting the blog or if you guys gave up on me. I don't blame you since I haven't been posting for a while. However it is never too late to pick up from where I left.

Many things happened since my last post but the 3 events that I need to highlight here are: 1) the builder came to fix the points listed in our 1 year inspection; 2) my mom and my aunt came to visit us for 2 weeks and,... 3) we became Canadians!!!!!

As I mentioned before, the builder came and fixed some cracks and nails popping from the wall however they don't sand or paint over the area they worked on. I've heard about this, but I was hopeful they would paint it for us. Now it is time for us to start and hopefully finish another project.

We went to Home Depot and bought all the necessary equipment: sandpaper, brushes, safety glasses, tray and other stuff. I have a confession: We have never painted any wall before!!! Ok, I understand it is just a touch up that needs to be done in each room. Even though this project will be quite interesting

Take a look at some areas we have to work on:


I will be back with the final result (good or bad)!


Thursday, December 18, 2014

Pre-Delivery Inspection

Last week, we had the Pre-Delivery Inspection (PDI).

As you can imagine, we were super excited and a little concerned at the same time. I mean, we didn't want to miss anything, and that was the first time we had the chance to check if the choices we made looked good.

We looked online for tips and checklists,... after some reading we got some tools and came up with our own check list.

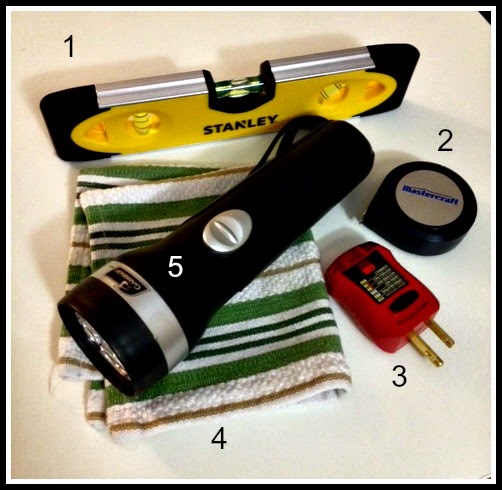
Here are the "tools" we used and considered really important:


1 - Level: this tool is important to make sure your countertops, shelves, columns and floors are ok. We bought our level at Canadian Tire and paid $7.99 for it (on sale).

2 - Measuring tape: it is a good tool to ensure that the openings for the appliances were in accordance to what was requested in our appointment.

3 - Receptacle tester: we considered it the MOST important tool for a PDI . It is user friendly and shows, through the lights, if the electrical is correct. With this tool, you can simulate an overloading of the circuit and tripping the GFCI. We also bought ours at Canadian Tire and paid $7.55 for it (on sale)

4 - Cloth: yes, a cloth! It is not rare for the builder to say "it is just a matter of cleaning",... so you have the cloth to clean it at the moment of the inspection. If it is not removable with a cloth, it is probably some stain or damage.

5 - Flashlight: we weren't allowed to use ours, however, if there is a dark place/room it comes in handy.

During the inspection, look for defects such as cracks, dents and scratches on flooring (hardwood and tiles), baseboard, walls, windows and cabinets. Also, flush all toilets and turn on water taps (shower and faucets) to check hot/cold water. Fully open and close (lock) all doors.

We tried all outlets with our receptacle tester. According to it, everything was alright.

Technically, this is the first time you will be seeing your house with all your choices and it is really easy to get carried away by your emotions, so my advise is: Focus!!!! Be an inspector,... look for all flaws like there would be no tomorrow (that sounds a little dramatic, I know!)

We decided to print some pics with our choices (the same ones I posted here) and, at the end of the day, they were pretty helpful because the builder made a mistake with the tiles in the powder room. When I realized the tiles were not the ones we have selected (upgrade), I started shaking,....

It was assured to us that it will be fixed by closing.

There were other 2 minor issues (scratches on cabinets and windows), all the others were "cosmetic". They were spotted and flagged with Frogtape (a green tape) for future fixing/cleaning.

It took us 3 hours to go through the inspection of the whole house as well as understand how the mechanics of the house work. The representative of the builder was really nice and answer to all our question. We never felt rushed at all.

If you want, I can share our PDI checklist,...

Here is a sneak pic of our inspection:

Master Bedroom


Foyer

Powder room - with wrong tiles

Monday, November 10, 2014

Interior Choices - part II - Second Appointment

After going the Decor Centre so many times and visiting model homes we had most of our finishing sorted out.

It was time for the Second Appointment with the builder. We submitted the list with upgrades to get the prices (yes, you have no clue about prices until you get the list back!!!). The builder sent us the list with prices 2 days before our appointment (what doesn't give you time to compare or shop around).

Some prices were okay, however most of them were absurd really high. As I mentioned before, we have a budget. I was able to search for something online and we made our choices.

Here are the things we wanted to upgrade in our list:

Foyer:
Tiles

Powder Room:
Tiles

1st Floor:
Hardwood floor (from 2-1/4 to 3-1/4)
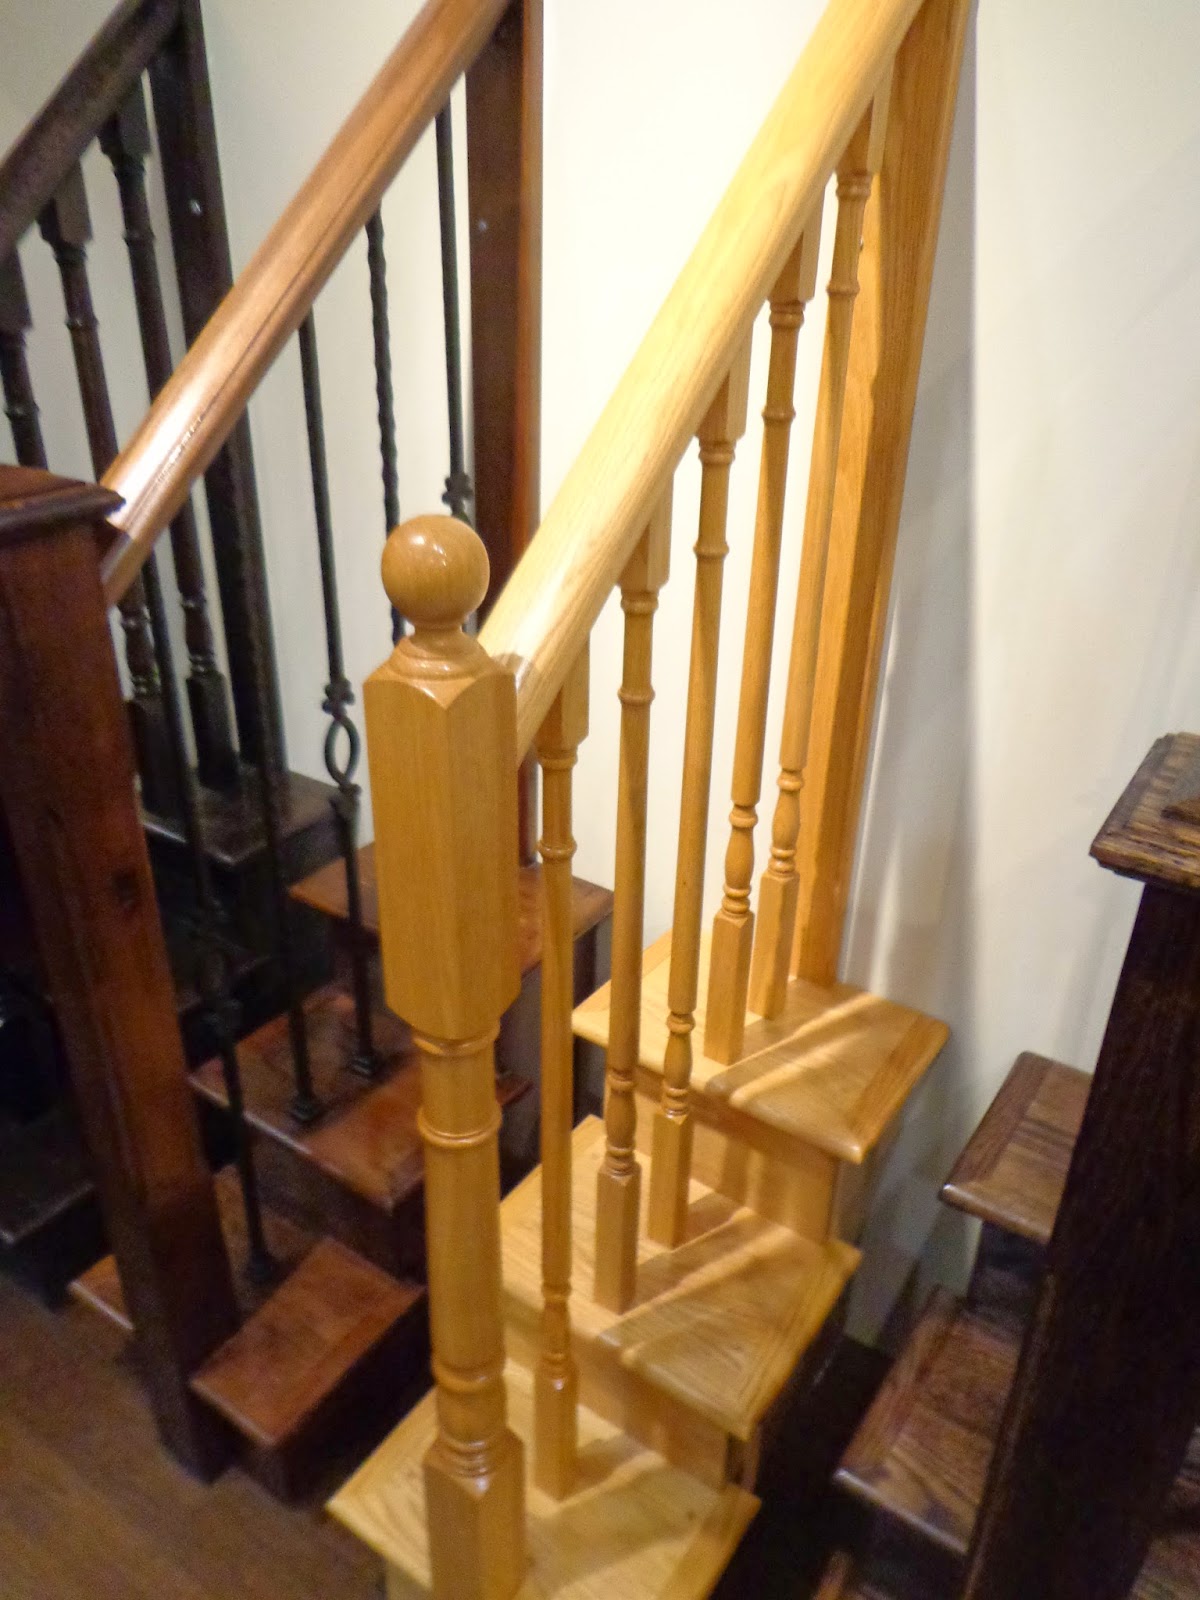
Stained floor and stairs

Living Room:
Mantel

Kitchen:
Cabinets
Cabinets over the fridge bigger
Crown molding
Gable and deeper upper cabinets over fridge
Undermount double sink
Granite ending (thicker)
Backsplash

Master Bathroom:
Dark granite countertop
Cabinets
Tiles
Special tile for the tub area

2nd floor:
Hardwood
Smooth ceiling

Crown molding

We ended up going with the following choices:

2nd Bathroom (3rd floor):This part of the house was all my husband's choice. We didn't choose any upgrade here. The cabinets are in style/design #3, but colour #2. I believe the second picture represent the colours better. The light at the Decor Centre is not the best!
1= countertop;
2= cabinet colour;
3= cabinet style;
4= tile (Marfil Grey);
5= tiles for shower wall (Tuscany Bone).
Hardware - CS1-14 (check the picture of hardware)


2nd and 3rd floor: we decided not to ask the builder for hardwood floor, it was too expensive. We will probably do it later ourselves or with a contractor. So we chose this carpet (also standard).


Interior colour: we chose to go with a greyish white.  In this picture (because of light, again) the colour doesn't feel right. Colours are standard.


Ensuite (master bathroom): here we have our choices. I am going to confess that I was a little apprehensive with these choices. Since we have a window over the tub, we decided to have a darker floor with white cabinets and a dark countertop. I wanted the countertop to be a black granite, but this is not a priority and the builder was charging too much for the granite.
1= countertop (later we will change for a granite one).
2= cabinets in this colour and style. This type of cabinet is an upgrade.
3= tile for the floor (upgrade).
4= tile for shower wall and tub backsplash.
5= marble that will divide the shower and the floor.
Hardware - CS1-13 (check picture of hardware)


In this picture you can have a closer look at the tile for the shower wall and tub backsplash - with some grey pattern.


Foyer, 1st floor and Powder room: We will have hardwood on the 1st floor. We asked for a cote of a stained flooring,... but it was too expensive. So we just upgraded to a wider hardwood floor keeping it in this yellowish color. We decided to upgrade the tiles for the foyer and powder room.
1= hardwood floor 3-1/4 (upgrade)
2= carpet (2nd and 3rd floor)
3= tile for powder (upgrade)
4= tile for foyer (upgrade)


This is the tile for the foyer.


Hardware. We decided to go with the standard hardware. We can definitely change them later. So, our choices are:

Kitchen: CS1-16
Laundry: CS1-10
Ensuite: CS1-13
2nd Bathroom:CS1-14


Kitchen and laundry area: we decided to pick a white kitchen. The cabinets will be a combination of the colour of the cabinet #1 with the style of cabinet #2. We also asked to add a deep upper cabinet above fridge with gable.
1= colour of cabinet (white crystal)/ cabinet for laundry area
2= style of cabinet
3= tile for laundry area
4= tile for kitchen
5= granite for kitchen (with upgraded ending)
6= hardwood floor of dinning room (to make sure everything matched - haha)


This is a closer look of the tiles for the laundry area (1) and kitchen (2).


Another upgrade we decided to go with the builder is the undermount double sink. We chose the one in the picture. I liked the rounded corners.


So, what do you think??? Will it look ok? I do hope so,... it was difficult to make all these choices.

Please, let us know what you think!!!

Wednesday, October 8, 2014

Interior choices - part I

A big part of our free time goes into choosing all the finishes for the house. We read a lot about the subject in forums in order to get some tips on what  to do with the builder or not.

Also, I like driving to tour model homes to have ideas on styles and designs. Sometimes we go to different builders (in the end, they all have the same suppliers).

Pinterest... I love Pinterest. To be honest, I think I am addicted to it. Maybe I should create an account for my blog.

When we first visited the decor centre, we received a list with all the items that were "standard" (which means that we don't need to pay extra money to have them).

In summary, we need to pick the tiles, carpet, cabinets (colour and style), granite, flooring for the whole house. In addition, we need to list the upgrades we would like and submit for pricing (that is sent to us 2 days before the appointment).

The process of picking/choosing all the finishes is exciting and overwhelming at the same time. I really like the idea of customizing my home, but I am afraid of picking something that I will regret later.

In an attempt to make life easier, I created an excel file with our choices - standard and upgrades  - for each room of the house and took pictures of them all. (I like to have options)

So let's start the process of picking the finishes. As you can see below, we got the standard flooring and placed the tiles around to check if they matched:


Hardware:


Regarding cabinets, we (Ron and I) have different opinions. He prefers dark cabinets. I think they are really beautiful and fancy, however, our kitchen is not big and it doesn't have any window to brighten the environment, so I think we should go with white cabinets.

In my view, a white kitchen is stunning. It can be classic and contemporary at the same time. I believe that white cabinets will make the space look bigger. With the correct pendants (over the breakfast bar) and some potlights, the kitchen will look pretty.

But the question is, which shade of white, crystal or antique white? By the way, I do love the first door style.


We tried the white crystal going with a brownish granite:


Carpets (2nd and 3rd floor):


Stairs (the lighter one is standard):


Nickel doorknob (standard):


Ensuite cabinets (upgrade) and countertop:


So, for the 2nd bathroom each one of us chose a set. Ron picked the brown cabinet and I chose the white one.


Which one do you prefer? Let's vote????

We appreciate your help :)